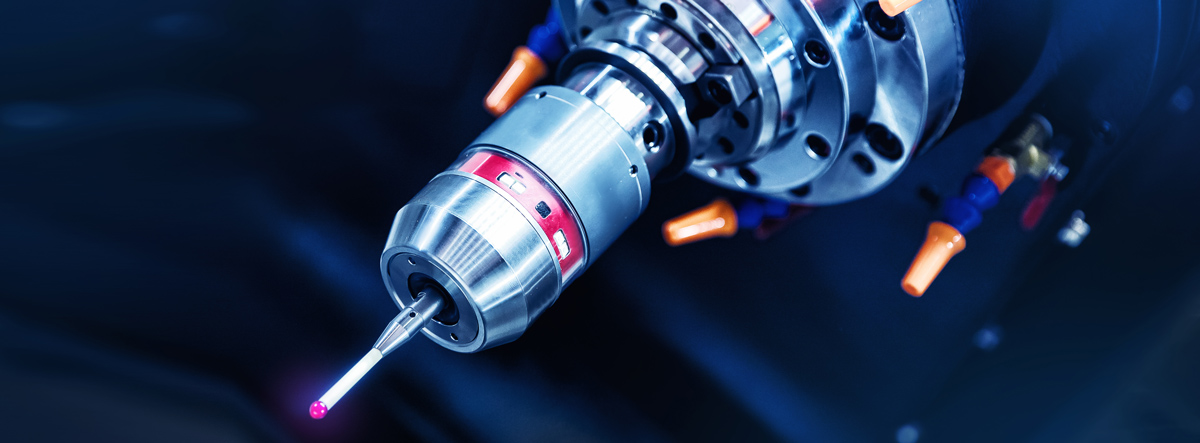
THE CENTRALISED MANAGEMENT OF THE MEASURING SYSTEM ENSURES EVEN FASTER AND MORE ACCURATE PRODUCTION FOR OUR CUSTOMERS
The new One Metrology area brings together in a space of 100 m2 all the measuring machines previously dispersed in several locations at the EDiM production site in Villasanta: faster and more precise production and an increase in the skills of all the personnel involved are only some of its main advantages.

EDiM wants to constantly offer its customers better solutions and an even faster and more accurate supply process. The One Metrology project was launched with these objectives in mind, and last April the dedicated area was officially opened at our Villasanta site. The project, now well underway, is not yet finished, but it is already bearing its first fruits.
THE NEW ONE METROLOGY AREA BRINGS TOGETHER IN A SPACE OF ABOUT 100 M2 ALL THE MEASURING MACHINES THAT WERE PREVIOUSLY LOCATED IN THE DIFFERENT PROCESSING DEPARTMENTS.
Previously, at the Villasanta site, each department had a dedicated metrology room, with personnel working shifts and specialised in a specific production.
Now, however, all departments can refer to the One Metrology area, where all the machines have been grouped together and new measuring equipment has been introduced. In fact, the area hosts 5 CMMs (Coordinates Measuring Machines), roughness/surface profiler tester and roundness gauges, and two new machines, including a Zeiss Prism with rotary table.
THE IMPLEMENTATION OF THE ONE METROLOGY AREA MADE IT POSSIBLE TO MOVE FROM A DEPARTMENTAL TO A CENTRALISED MANAGEMENT OF THE PRODUCTION CONTROL PROCESS.
This change has immediately produced clear benefits in terms of readiness of feedback to production. Now not only is a faster exchange of information possible, but an increase in the skills of all the personnel involved is also already visible. Whereas before, people may have had exclusive expertise on the parts related to their own department, they now have a better knowledge of all the components produced in EDiM.
Therefore, much has already been done to ensure a leaner production and increased expertise in the field. The next steps of the project will include the standardisation of instrumentation, which will have to be increasingly sophisticated to meet the requirements of the market, and the complete digitisation of the data.
We will also ensure better accuracy of the machines in the area: for example we will ensure that the machines run at the ideal operating temperature at all times, by implementing and commissioning a new dedicated air conditioning system. We will also restrict access to the One Metrology area to keep its temperature constant. On the perimeter of the CMMs, insulating mats will also be implemented in special cut-outs in order to minimise vibrations, another key aspect for obtaining extremely accurate measurements.
In this way, we want to guarantee our customers ever greater production efficiency, starting with faster and more precise measurements and continuing on our path of continuous improvement.

